User-level documentation workflow
What you need to know
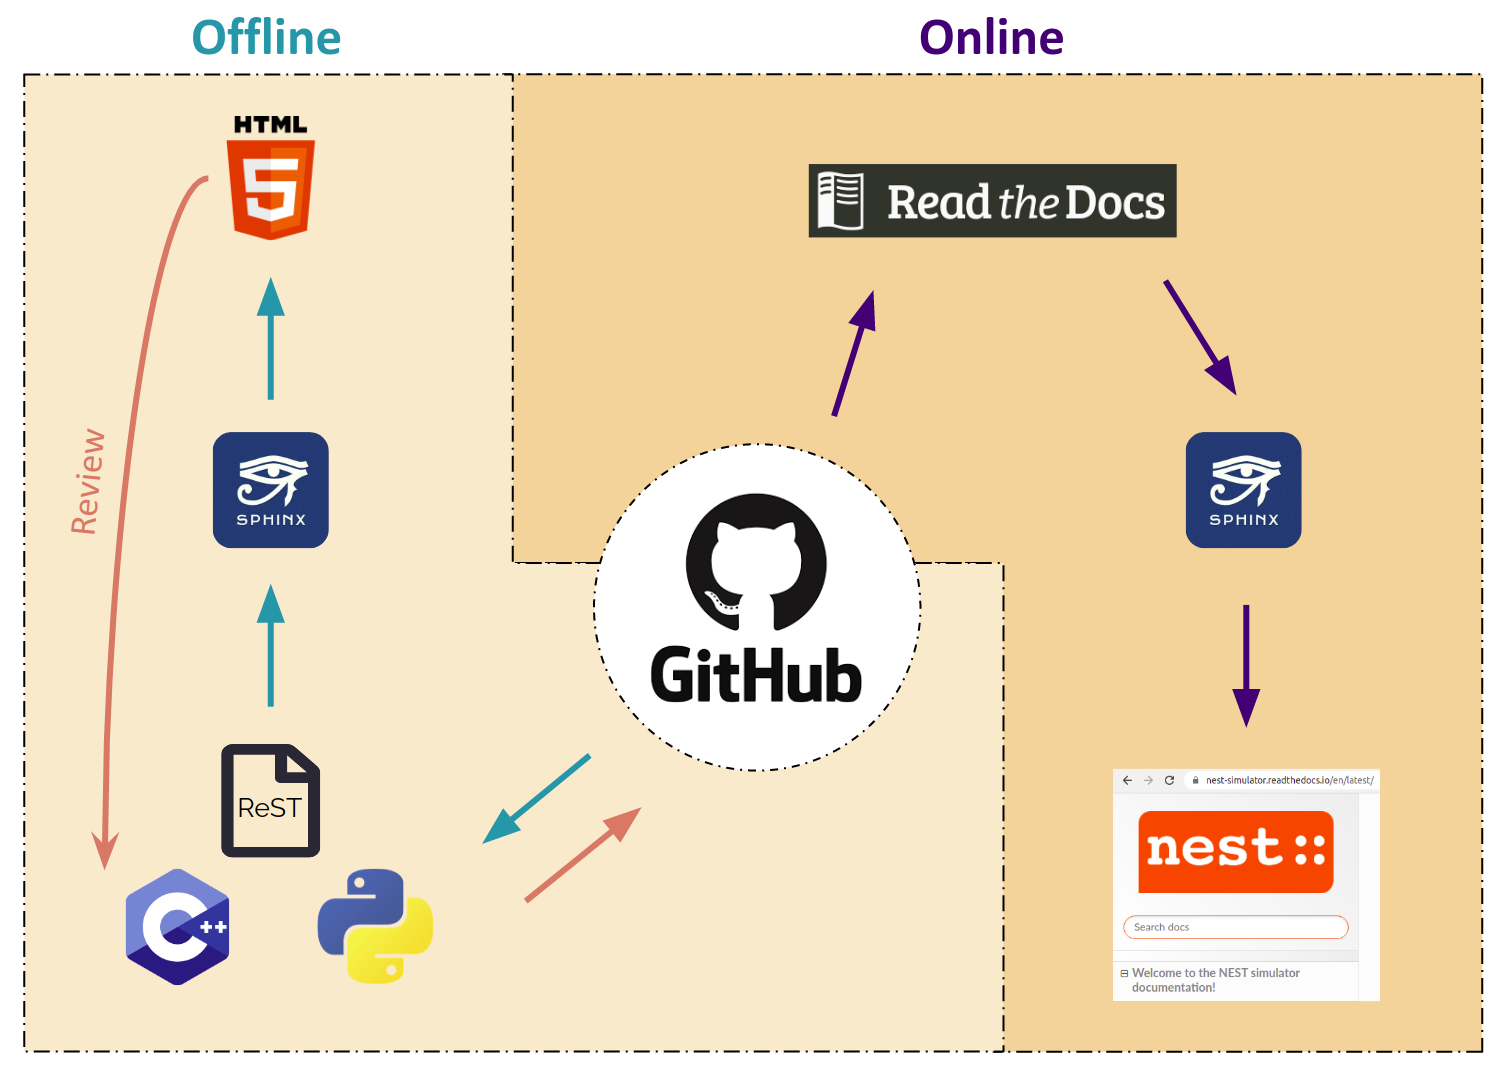
We use Sphinx to generate documentation and Read the Docs to publish it. Sphinx uses reStructuredText. To learn more about the syntax, check out this quick reference.
The NEST simulator documentation lives alongside its code. It is contained in
the doc directory within the NEST source code repository on GitHub.
We work with GitHub as the web-based hosting service for Git. Git allows us to keep our versions under control, with each release of NEST having its own documentation.
This workflow aims for the concept of user-correctable documentation.
Note
This workflow shows you how to create user-level documentation for NEST. For developer documentation, please refer to our Developer documentation workflow.
Changing the documentation
If you notice any errors or weaknesses in the documentation, please submit an Issue in our GitHub repository.
You can also make changes directly to your forked copy of the NEST source code repository and create a pull request. Just follow the workflow below!
Setting up your environment
Our conda environment will enable you to generate documentation for NEST.
If you are using Linux and want to install a full development environment:
Install conda (we recommend miniconda).
Switch to the
docfolder in the source directory:
cd </path/to/nest_source>/doc
Create and activate the environment:
conda update -n base -c defaults conda
conda env create --file nest_doc_conda_env.yml
conda activate nest-doc
If you want to deactivate or delete the build environment:
conda deactivate
conda remove --name nest-doc --all
Generating documentation with Sphinx
Now that you activated your environment, you can generate HTML files using Sphinx.
Rendering HTML
Using Sphinx, you can build documentation locally and preview it offline:
Go to the
docfolder in the source directory:
cd </path/to/nest_source>/doc
Generate HTML files:
make html
Preview files. They are then located in
./_build/html:
cd ./_build/html
browser filename.html
Editing and creating pages
To edit existing reStructuredText files or to create new ones, follow the steps below:
You can edit and/or add
.rstfiles in thedocdirectory using your editor of choice.If you create a new page, open
contents.rstin thedocdirectory and add the file name under.. toctree::. This will ensure it appears on the NEST simulator documentation’s table of contents.If you rename or move a file, please make sure you update all the corresponding cross-references.
Save your changes.
Re-render documentation as described above.
Previewing on Read the Docs (optional)
Proceed as follows to preview your version of the documentation on Read the Docs.
Check that unwanted directories are listed in
.gitignore:
_build
_static
_templates
Add, commit and push your changes to GitHub.
Go to Read the Docs. Sign up for an account if you don’t have one.
Import the project.
Enter the details of your project in the
repofield and hitCreate.Build your documentation.
This allows you to preview your work on your Read the Docs account. In order to see the changes on the official NEST simulator documentation, please submit a pull request.
Creating pull request
Once your documentation work is finished, you can create a pull request to the master branch of the NEST Source Code Repository. Your
pull request will be reviewed by the NEST Documentation Team!